
With springtime around the corner, you may be thinking about getting baby chicks! You can learn about picking baby chicks (in terms of breeds, time of year to bring them home, and more) in my Getting Started with Baby Chicks post. In this post I’m going to share about the supplies you’ll need for your baby chicks. Our girls are almost a year old, and we brought them home when they were just a few days old, so this post makes me nostalgic!
Tractor Supply Was Our Friend
We got everything we needed from Tractor Supply, they truly had it all… even our first batch of chicks! They have Chick Days all throughout the spring, so it was perfect for newbies like us. I like to keep things simple, so being able to pick up everything in one trip was ideal.
Brooder Box
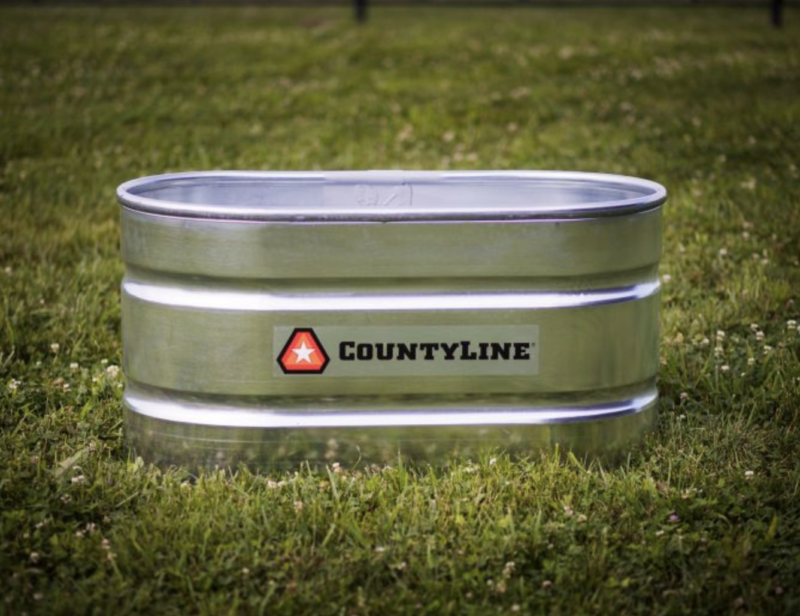
The first thing you will need is a brooder box, this is where you will keep your chicks! Because it was still very cold outside when we got our chicks, I knew it would be a challenge to keep the babies warm in our garage. Baby chicks are very temperature sensitive… when they don’t have a mama hen to regulate their heat, that will be your job! So we first chose a brooder box that fit nicely in our laundry room. However, this ended up being a mistake! The chicks grew so fast that within 2 weeks, they were jumping out of that smaller brooder, and we had to get a big one anyway, ha!
So in hindsight, I would have started with this larger brooder, a CountryLine Stock Tank, all along. It was big and took up a good chunk of our laundry room, but it had more space for them as they grew, and then we were able to move it right into the garage when they got a little bigger (and messier). You could really use any sort of container, but we didn’t have anything we could use with sides high enough!
Bedding
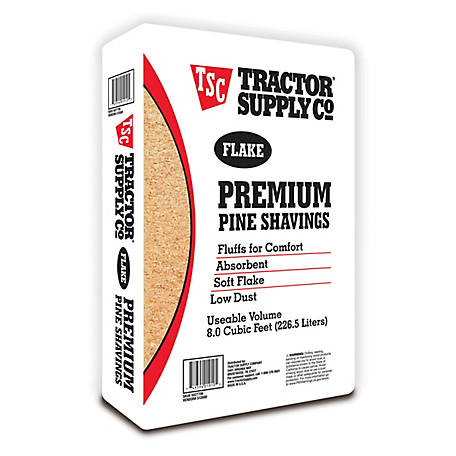
Next, you’ll need some bedding. We just used pine shavings because they are cheap (a huge package was about $6), and you have to change out all the bedding frequently. Chicks are MESSY, so we changed out the bedding every 5-7 days or so.
Feeder
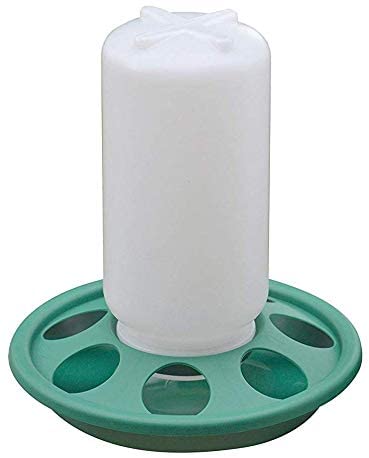
We used a basic chicken feeder like the one pictured above, we propped it up on an upside-down throwaway plastic container as the chicks grew. They are going to kick all kinds of bedding in the feeder, unless you get a neat-freak chicken who doesn’t like that and keeps cleaning it out (we had one like that, ha!). But raising the feeder higher as they get older helps to not get quite so much bedding in their food!
Waterer
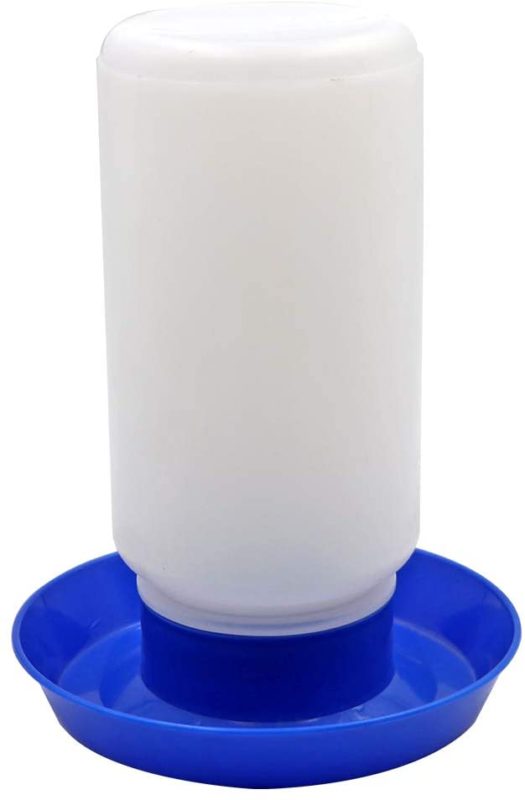
We also just got a basic chicken waterer like the one pictured above. There is not a ton of room in the brooder box especially as the chicks get bigger, so this basic chicken waterer worked when they lived in the brooder box. They do knock it over and it does get messy, but it’s just one of the things we dealt with while they still lived in there! Any ‘fancy’ waterers took up too much space, especially as the chicks started to grow larger. I searched many times for better solutions, but this was always the one we came back to until we moved them outside!
Probiotics
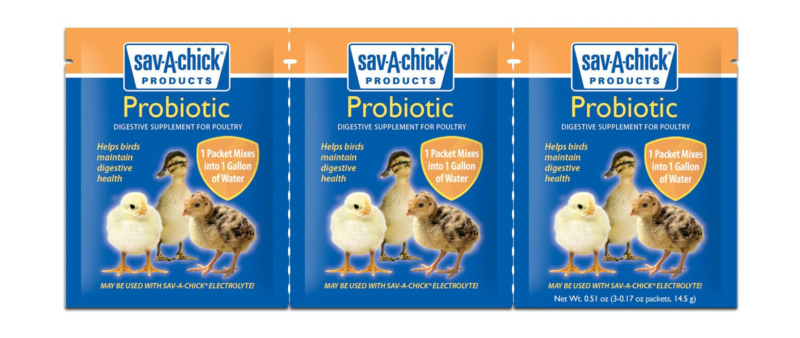
This was a tip from our chicken-lady friend, who has about 250 chickens! She said to add probiotics to the water when they are little, so we did! We also added a splash of apple cider vinegar (ACV) every time we changed out the water. We mixed one packed of these Sav-A-Chick Probiotics and a splash of ACV into 1 gallon of water, and then we would use that gallon to fill the waterer every time it got low or needed to be changed.
Heat Source
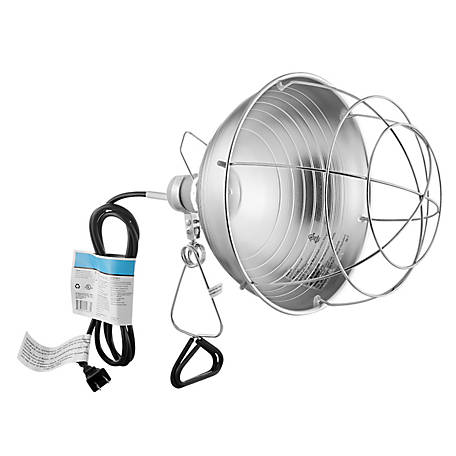
Baby chicks are very temperature sensitive, they need to be kept around 90 degrees at 1 week, 85 degrees at 2 weeks, 80 degrees at 3 weeks, etc., so they need a heat source! When there is no mama hen to keep them warm, that job falls to you! There are some really nice options like this brooder heating plate, and if I was going to regularly raise chicks, I’d definitely invest in something like that because it makes regulating temperature so much easier!
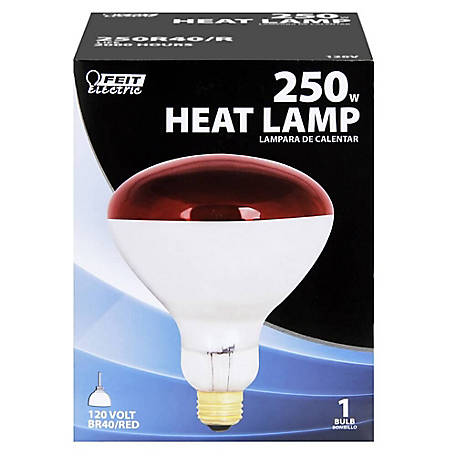
But we just went basic, so we got a simple heat lamp. The heat lamp bulbs are typically sold separately from the lamp itself, so you’ll need both if you go this route!
Honestly it is tricky getting this lamp the right distance from the chicks, especially as you need to make it cooler in the brooder. I used an old lamp stand and kept adjusting the height of the heat lamp, and when they moved to the garage I clamped it onto a ladder. Often you can tell if the chicks are too cold (they are all huddled together directly under the lamp) or too hot (they are all spread out and as far away from the lamp they can get), so I felt like I was constantly adjusting the heat lamp! But using this as your heat source is an inexpensive way to provide their warmth.
Thermometer
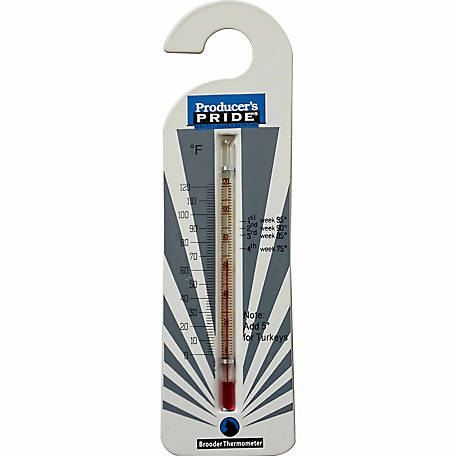
As I mentioned above, the chicks are so temperature sensitive, so I wanted to make sure I was on track in keeping them at the right temp! God bless the guy at Tractor Supply helping us pick up everything we needed. He handed me this brooder thermometer to me at the end, and I’m so thankful he did. It is inexpensive (they are going to knock it over and poop on it, so no use in getting anything fancy!) and has the different ages with the different temperatures labeled right on there. It was very useful, and I’d recommend one, especially if you are a first-timer!
Food

Lastly you will need some food for your chicks! Many people have strong opinions on what to feed their chicks, but my daughter had been researching what to feed them for ages… so I just went with what she said, ha! We used Nature’s Best Organic Chick Starter/Grower combo, and it worked out great. We fed this to our chicks all the way up until they started laying eggs. You can definitely do some research on what to feed them, but this worked great for our girls.
And that’s it! We were able to get everything, plus our chicks, in one trip, and it was so exciting to set everything up and bring our girls home! I’ll be sharing soon about the coop and the run… your chicks will grow so fast you will need to start planning where they will live outside!
